Installing Vue with Visual Studio Code
For some of my projects, I have been learning Vue as an extension to JavaScript. I like to develop with Visual Studio Code and so need to make sure I can develop Vue projects with it. Fortunately, setting Vue up is fairly straight forward.
This information was gathered from the following sources:
Vue Basics: Getting Started with Vue.js and Visual Studio Code
Installation
Of course, the first thing to be done is to actually install the things we need. For Visual Studio Code, it is useful to have the official Vue extension.
Additionally, we will also need Node.js:
For my purposes, I simply installed Node.js using the default selections when asked by the installer program.
Creation of Vue Project
At this point, if Visual Studio Code is open, I would go ahead and restart it. This will ensure that it knows Node.js is installed.
Once it has opened again, we can use the terminal in VS Code to navigate to where we would like our Vue project to be created. Once there, we can run the following command to create our project.
npm create vue@latest
This will create a brand new Vue project template using the most recent version of Vue available. After VS Code finishes created the project, go ahead and change directories to the newly created project directory. We will the install the Vue application itself:
npm install
This will create the hooks needed by Vue in order to run your small development server while you write your code. To actually run that server, we will use the following:
npm run dev
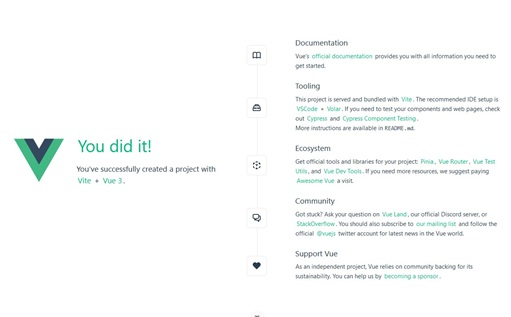
This will begin the Vue server and host the template Vue project. It will actually also give you a localhost address you can click on and see your project!
🖼️
From here you can set-up a Git repository or whatever else you would like.